STEP ONE
|
|
Start with your 'canvas'. I'm using black as my background (bet that surprised you) :).
|
STEP TWO
|
|
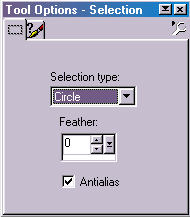
Select the 'selection' tool from the toolbar ( ). And in the
'selection type:' of the tool options, choose 'circle'. Also make sure 'antialias' is checked. ). And in the
'selection type:' of the tool options, choose 'circle'. Also make sure 'antialias' is checked.
|
STEP THREE
|
|
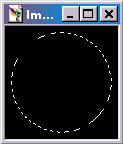
Make your desired circle with the selection tool.
|
STEP FOUR
|
|
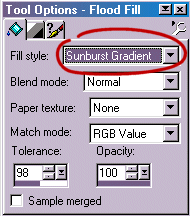
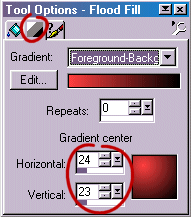
Select the 'floodfill' tool ( ), in the floodfill options choose 'sunburst
gradient' from the 'fill style'. Now click the 'gradient tab' and make the 'gradients center' as indicated by the image on
the left. Choose your colors, I'm using lightred(#FF4040)-foreground and black-background. ), in the floodfill options choose 'sunburst
gradient' from the 'fill style'. Now click the 'gradient tab' and make the 'gradients center' as indicated by the image on
the left. Choose your colors, I'm using lightred(#FF4040)-foreground and black-background.
|
STEP FIVE
|
|
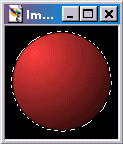
Fill the selection. Make sure you keep the selection active.
|
STEP SIX
|
|
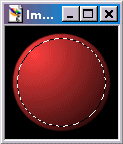
Now from the menu up the top, choose [selections]->[modify]->[contract], choose '6' pixels and press 'Ok'. The selection has
now contracted (obviously) :).
Now choose [layers]->[new raster layer]->[ok] to make a new layer. The new layer should also now be active.
|
STEP SEVEN
|

|
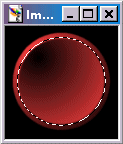
Swap the foreground/background colors, as indicated on the left (press the two lil connected arrows).
Now floodfill the selection. Starting to take shape you think?.
|
STEP EIGHT
|
|
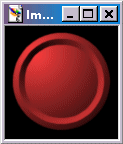
Next choose from the menu [selections]->[modify]->[contract] and choose 6 pixels again, then 'ok'. Now just press 'delete' on your keyboard.
Choose [selections]->[select none] and your done!!
Oh!, one last thing, choose [layers]->[merge]->[merge all(flatten)] to make the image one flat layer....
|


