STEP ONE
|
|
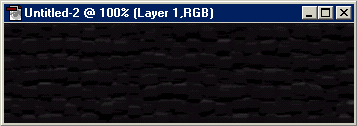
Start with two layers on a 350x100 pixel 'canvas', both filled with black. And making sure the second (top) layer is active, select
FILTER > TEXTURE > PATCHWORK and in the options that pop up select:
Square Size: 10
Relief: 18
|
STEP TWO
|
|
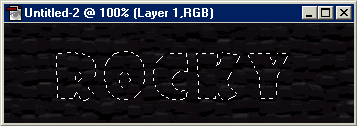
Select the 'type mask' tool ( )
and click on your image. In the following options that appear, select a font and a size around 60 and type in your word(s). Then select OK. )
and click on your image. In the following options that appear, select a font and a size around 60 and type in your word(s). Then select OK.
|
STEP THREE
|
|
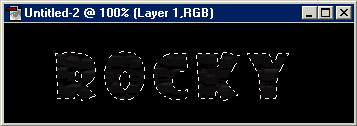
Press SHIFT + CTRL + I (or Select > Inverse) and hit delete to get rid of the pattern on the outside
of the text. Inverse the selection again so just the text is selected again.
|
STEP FOUR
|
|
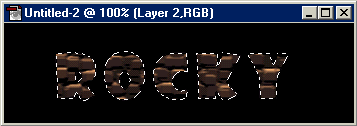
Create a new layer ( )
and fill it with a light brown (#CBB99C) (fill is ALT + BACKSPACE). Make the layer mode at the top of the layer palette 'Color Dodge'. )
and fill it with a light brown (#CBB99C) (fill is ALT + BACKSPACE). Make the layer mode at the top of the layer palette 'Color Dodge'.
|
STEP FIVE
|
|
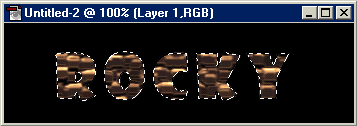
Now make the middle layer active (layer1 - not background layer). And choose FILTER > BRUSH STROKES > ACCENTED EDGES with the
following settings:
Edge width = 4
Edge Brightness = 28
Smoothness = 1
|
STEP SIX
|
|
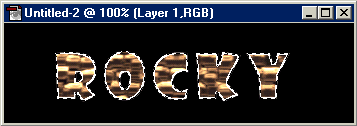
Do the same as step five again (Accented Edges).
|
STEP SEVEN
|
|
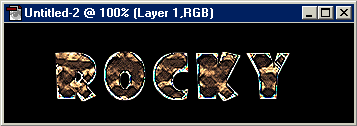
Now goto FILTER > BRUSHSTROKES > CROSSHATCH with the following settings:
Stroke Length = 9
Sharpness = 6
Strength = 1
|


