STEP ONE
|

|
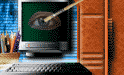
Start with your 'canvas' and create a new layer ( ). ).
Select the circular 'selection' tool as indicated by the pic on the left and create a circle in the left area of the image. Hold Shift while you drag your circle to
constrain the proportions.
|
STEP TWO
|
|
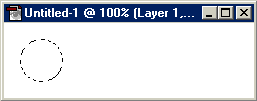
Select the radial gradient tool (SHIFT+'G' a coupla times or  )
Choose your foreground/background colors, I'm just using the default black and white - white is foreground. )
Choose your foreground/background colors, I'm just using the default black and white - white is foreground.
Click and drag from the position of the foreground color (white) to the background color (black). You can see in the image where the white dot is, is where I started to click and drag from.
|
STEP THREE
|

|
Select the rectangle marquee tool ('M' or  ) and hold ALT
while you drag a selection over the first half of the circle. This leaves you with just the second half of the circle selected. ) and hold ALT
while you drag a selection over the first half of the circle. This leaves you with just the second half of the circle selected.
|
STEP FOUR
|
|
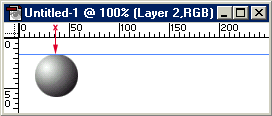
Select Layer > New > Layer Via Cut. The right half of the circle is now on it's own layer.
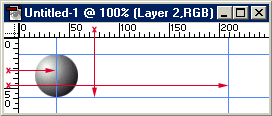
Select View > Show Rulers and then click on the top ruler and drag down to the top of your circle to create a 'guide'.
Make sure you snap to guides by going to View > Snap to Guides (Should have a check mark next to it).
|
STEP FIVE
|
|
Create three more guides as shown in the images to the left.
|
STEP SIX
|
|
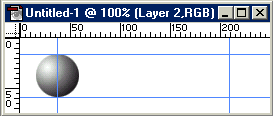
Make sure the layer with the right half of the circle is active, and select the move tool ('V' or  ).
Move the right half of the circle to the right - it should 'snap' into place. ).
Move the right half of the circle to the right - it should 'snap' into place.
|
STEP SEVEN
|
|
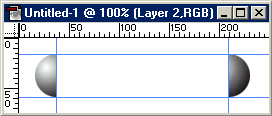
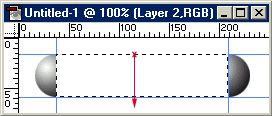
Make a rectangular selection with, yep, the 'rectangular marquee tool' ().
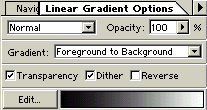
Choose the 'Linear Gradient' tool (G or  ) with the settings to the left. ) with the settings to the left.
Click near the top of the selection and drag down under the bottom of the selection (as indicated left).
|
STEP EIGHT
|

|
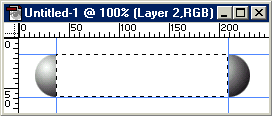
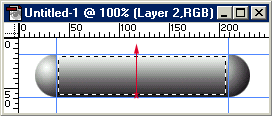
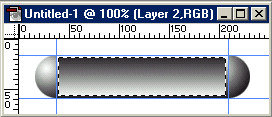
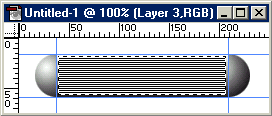
After the last step you should have an image similar to left.
Now select Select > Modify > Contract and enter 2 pixels.
Select your Linear Gradient tool again () and this time click near the bottom of the selection and drag up.
|
STEP NINE
|
|
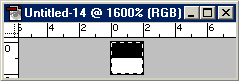
Now create a NEW image - 2pixels by 2pixels (yes! 2x2). Zoom right in as far as you can (1600%) and with the brush paint just the top two pixels black.
Press CTRL + A to select the whole image (the 2x2 one) and goto EDIT > DEFINE PATTERN.
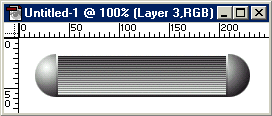
Now back to the original image!! Create a new layer (). Now goto EDIT > FILL and in the options box next to 'use', select 'Patten'. Press OK
Now adjust your layer opacity to your liking. Remove the guides. Kill the selection (CTRL + D).
And that's it! All I added for the bottom image, is a black background and created a small glow behind. (and added the text of course)
|